Wednesday, March 09, 2005

Window on the Wing


Window on the Wing
(c) All Rights Reserved

Labels:

Friday, March 04, 2005

Holiday Lighting


Holiday Lighting, Glendale, AZ
(c) All Rights Reserved

Labels: ,

Monday, February 21, 2005

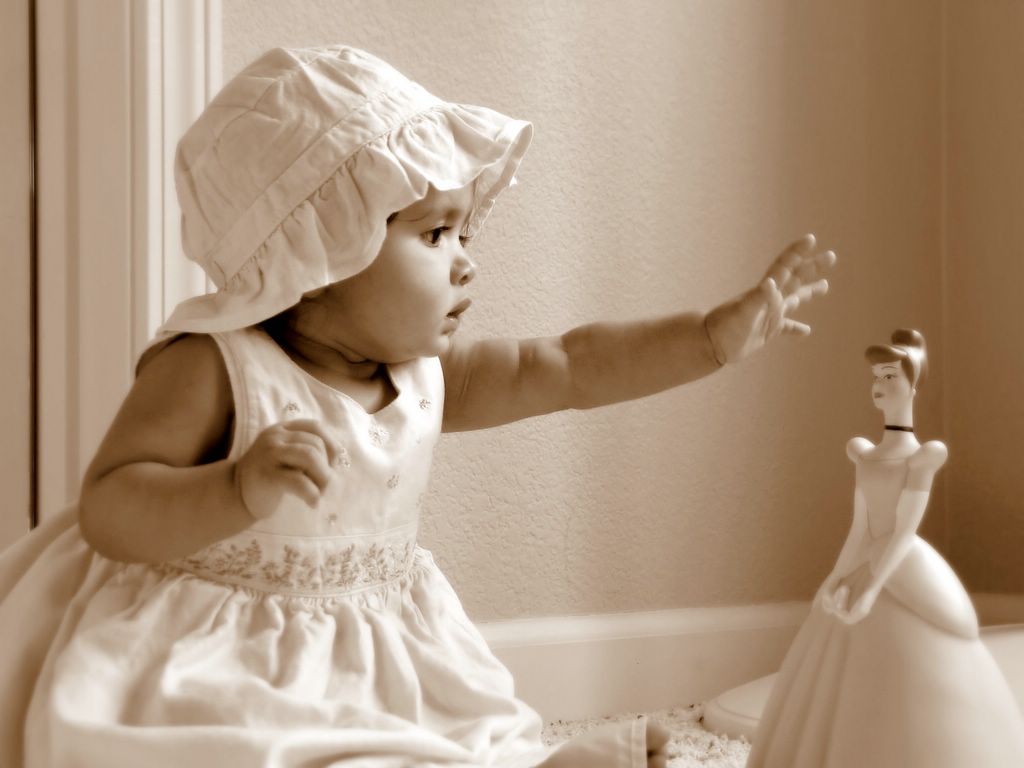
Meet The Princess


Meet The Princess
(c) All Rights Reserved


I love this picture! Everyone who saw also loved it ! One colleague even suggested that I should try some professional Photography !

Hmm... Well may be not yet. Afterall, there is no guarantee that every picture I take will be as good as this one, because there is definitely an element of Luck involved. Not to say that this picture came out nice just by pur luck, but I just feel that the moment captured in the picture gave me more satisfaction then I had expected for my effort.

As this is a blog about "learning Photography" & "sharing experience", I thought I should put some details that can help someone else take a similar picture. Read on...

Title : "Meet The Princess"
Well, The title was a very obvious choice. The viewer is meeting my little 7 month old princess and my little princess is meeting her plastic princess doll.

Subject
At this age, babies really get very curious of the world around them. They want to grab everything they can reach (and cannot reach!). I wanted to capture this instinctive behavior in some way as a sweet memory of this phase of early development. So the real subject is the interaction - that hand stretched to grab the doll and the eyes locked on the doll.

Location
In a corner of our bedroom, a perfect place to provide a homely background. There was a stand up fan also over there which I did not remove. You can see the base of it behind the doll. I thought it looked nice behind the doll and with its gradual slope, it provided a nice venue for the plastic royalty to stand.

Lighting
All natural day light. No flash (I am really not fond of flash photography). The window provided the right amount of light to illuminate Baby's face. Also I had not noticed it at the time, but the gradual shadow on the wall nehind provides a really nice background for the relatively small secondary subject - the plastic princess - to stand out.

Composition
You can easily see that The Rule of Thirds is playing a clear role here. To achieve a good balance between the two subjects (Baby and the doll) The rule of thirds was natural. Also the real subject - the interaction - is right in the middle of the picture!

Trials
I must have tried at least three different angles and finally settled down on the one closest to the floor. Also, at F2.8 and ISO100, shutter was at 1/50s and many shots were wasted with motion blur due to Baby moving around. This one is not perfect either as you can see the her hands show little bit of motion blur. And with the Deceiving LCD, You can't tell if the picture you just clicked was the perfect one. So instead of leaviong things to luck, I take more pictures even at the same angle.

Editing
The original picture is in color.

  • At ISO100, I really did not like the noise. I filtered it using Free Version of Neat Image.
    Rest of the changes were done in Picasa2 (Free from Google).
  • Straightened using door frame as reference.
  • Filled little more light.
  • Added Glow. I really like this effect.
  • Converted to Sepia. I also tried black and white. but I really liked the timelessness exerted by Sepia.
  • Did minor Contrast adjustments.

The only regret I have is, I wish I could have used a wider depth of field. at ISO100, I was really trying to limit the shutter speed to avoid motion blur from baby's movements. Only option was to increase th Aperture which narrowed the depth of field. I don't think the depth of field was that good, because not all of the blur in the picture is caused by motion. Oh well, that's the limitation I have to accept for a G5.

Labels: , , ,

Friday, February 18, 2005

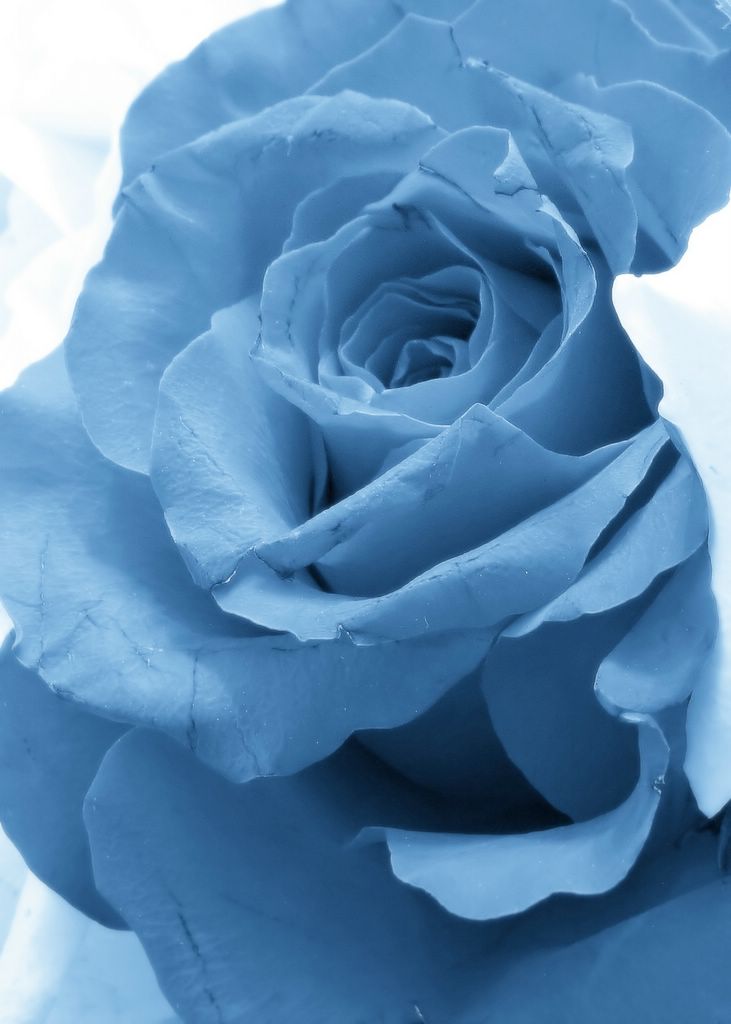
The Moonlight Rose


The Moonlight Rose
(c) All Rights Reserved

Labels: ,

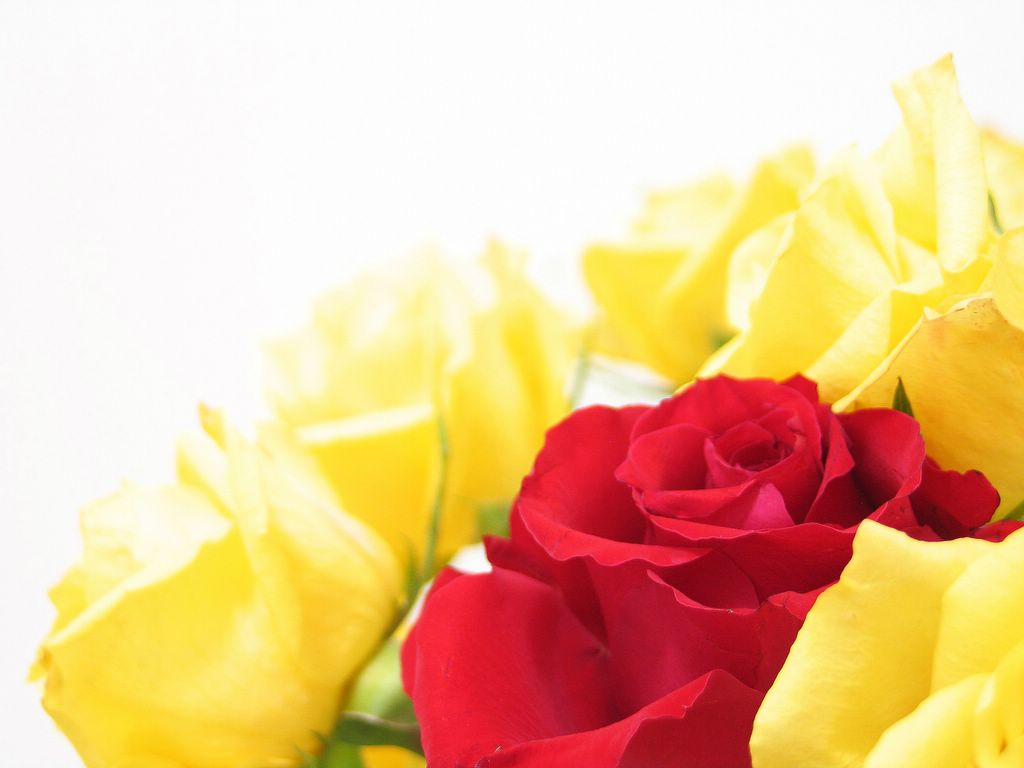
Roses - a macro shot


Roses
F4.9, 1/4 s, +2EV, Macro Focusing Mode

Above is a macro shot of the same roses from the post before. I don't have any special lighting equipment, so to washout the background, I took the shot with +2 Exposure Compensation in Aperture Priority. Also to avoid shaking the camera at shutter release, I used 10 sec timer release. Had to do minor color correction and sharpening using Picasa 2.

(c) All Rights Reserved

Labels: , ,

Tuesday, February 15, 2005

For My Valentine


For My Valentine
(c) All Rights Reserved

Labels: ,

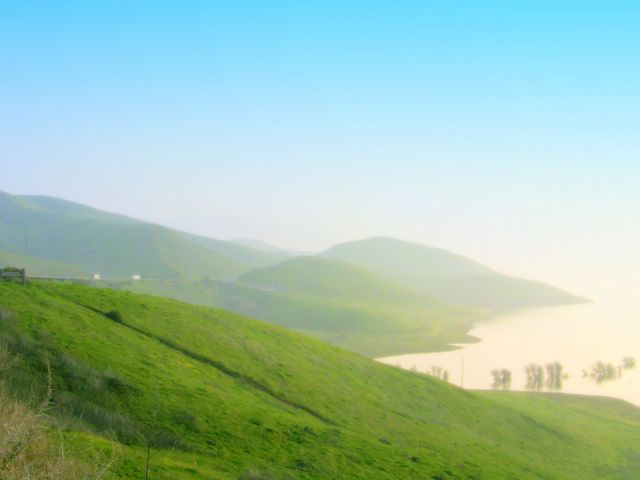
San Luis Reservoir, Northern California


San Luis Reservoir, Northern California
(c) All Rights Reserved

Labels: ,

Sunday, February 13, 2005

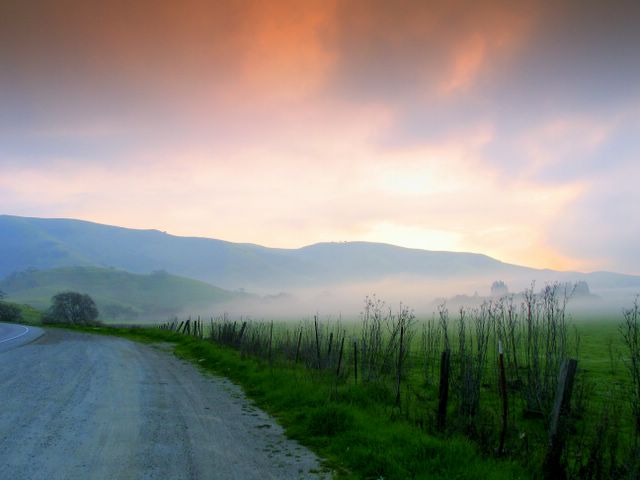
Morning in the Meadows


Morning in the Meadows
(c) All Rights Reserved

Labels: , ,

Saturday, February 12, 2005

Meadows along Highway 152, Northern California.


Meadows along Highway 152, Northern California.
f4.5, 1/80s , ISO 50

Composed using Rule of Thirds.
Enhanced with Picasa 2.
- I'm Feeling Lucky
- Fill Light
- Glow
- Graduated Tint
- Sharpen
(c) All Rights Reserved

Labels: ,

Wednesday, September 01, 2004

Ganesh and Grandpa

Here is another one of my favorite BW shot taken in Rural India. The young man in the back is "Ganesh" and the old gentleman in the foreground is his Grandpa.


Ganesh and Grandpa

Labels: , , , , ,

Thursday, August 19, 2004

Why Black and White

Have you done any black and white photography yet? Or the idea of no-colors reminds you of nothing but your dad's old TV ?

Well believe me, it can be very interesting. In fact it can help you a lot on mastering the very basic skill of capturing lights and shadows. Recently there was some discussion at dslreports.com on black and white vs. color photography which made me think why should a beginner take interest in Black and White Photography? The world is so colorful and it's so wonderful to take some instant gratification about your photography simply by capturing colors with your new Digicam (see: "Colors with G5" ) . Why bother to go to Black and White ? Well, here is my take on Black and White clicking.

If we think of color photography as the generalization and black and white as a specialization of color photography where colors are toned down, then in general, the skill of photograpy has following elements


  1. Identifying the subject
  2. Composing the frame
  3. Emphasizing the subject
  4. Capturing the colors
  5. Capturing lights, shadows, contrasts
  6. Creating an overall pleasing (not disgusting) photograph

( I am considering technical skills like selecting proper Aperture, Shutter Speed, ISO, Depth of Field etc. as implicit to skills above )


With no offence to people who use filters to get the colors right, capturing colors is the easiest in the list for a digital photographer. In fact it is pretty much simplified to having a good camera and selecting proper white balance option on your Digicam.

The colors are there whether you take the picture or no. You are capturing them as it is, while the rest of the elements, you have to learn and master. Lights and shadows are also there even if you dont take the picture, but they may vary a lot by varying angle.

Also, Eventhough they are the easiest to capture, colors contributes a lot to the overall good feeling of a photograph according to human brain/eye. So a very simple picture of a flower may look so pleasing to a human brian/eye - simply because it is colorful - a very biological or genetic reason I guess.

Now, imagine if this easiest element is taken away from you ! Without color, a lot of emphasis will shift on lights and shadows, proper subject identification etc rest of the elements of the skill ! It will require you to be much better in rest of the elements of the skill to make a picture that can compete with a colorful pic!

I think B&W is a lot more demending in terms of photography skills and that is what attracts me. I believe every beginner should do some fun B&W photography to sharpen the rest of the skills. Without being 'distracted' by colors, you can focus a lot on lights and shadows, because that's all you've got!

I don't mean to say, a black and white picture is better or more artistic compared to color. The vibrant colors and their pleasing effect on our genetically hard coded brain can not be easily competed by a BW pic. But BW pic has to try very hard on rest of the elements of the picture to be able to compete with a colorful pic. Kinda like, if you are not the best dressed person in the party, then you better be very good at Tap Dancing or Singing or have a great sense of humour to be the center of attraction :-)

Some of my BW attempts below.


Three is company


Singapore Airport


Labor Transportation, INDIA

Labels: ,

Thursday, August 12, 2004

Don't turn the knob...

I took this picture while fooling around in the kitchen. This is another example of Macro capability of G5. Also note that the depth of field is very narrow (F2.0). Other thing I kept in mind was that the camera is not visible and the water-filter head is centered in the frame. No cropping required.


Don't turn the knob...

F2.0, 1/13 sec, ISO 50

Labels:

Wednesday, August 11, 2004

A Candid Portrait

The old and shy gentleman in the picture below is my grandpa's barber in a small town in western India. I just told him that I was about to take a picture of him and clicked! He did not get a chance to say Yes or No, and I think I captured a genuine moment of Surprize!


A Candid Portrait
F3.2, 1/50 sec, ISO Auto

Labels: , , ,

Sunday, August 08, 2004

I dropped my G5 !

Guess What! Today, for the first time, I dropped my G5 on the ground, from waist height! No not on carpet, but on dirt road at a construction site. It slipped out of my camcorder bag - which was not closed properly - when I lifted the bag by its straps!

Well, all is well and it has survived the Crash! I even took some snaps right after the incident wihout a problem. Althought I am less concerned now, but the sight of a $500+ digital camera dropping and tumbling on a construction site was REALLY SCARRY!

Gotta be more careful now.

Labels:

Friday, August 06, 2004

Get out there

If you are a photohead with a lot of time to click around everyday, feel Good for yourself, because the rest of us are trapped in our cubicles at our day jobs. Here is an attempt to satisfy the photohead inside me during lunch hour today.


Get out there

Canon G5, Av Mode, F6.3, 1/40 sec, ISO 50

Labels:

Saturday, July 31, 2004

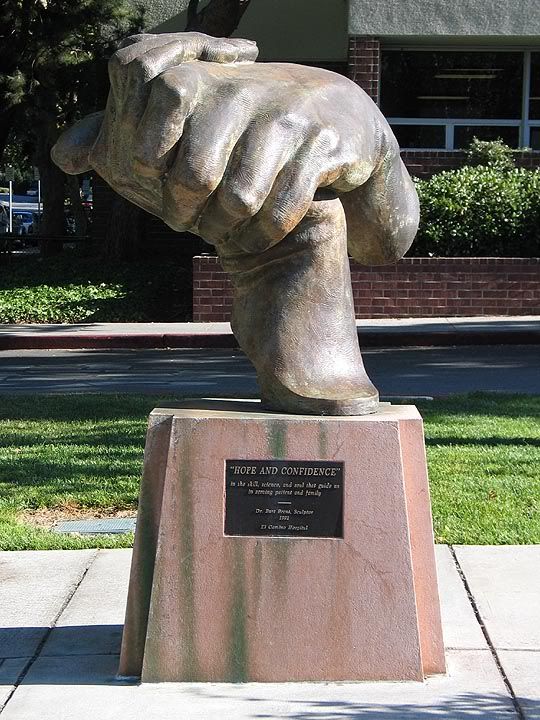
"Hope and Confidence"

Here are a couple of shots of a monument named "Hope and Conidence" in front of the hospital I visited this week.


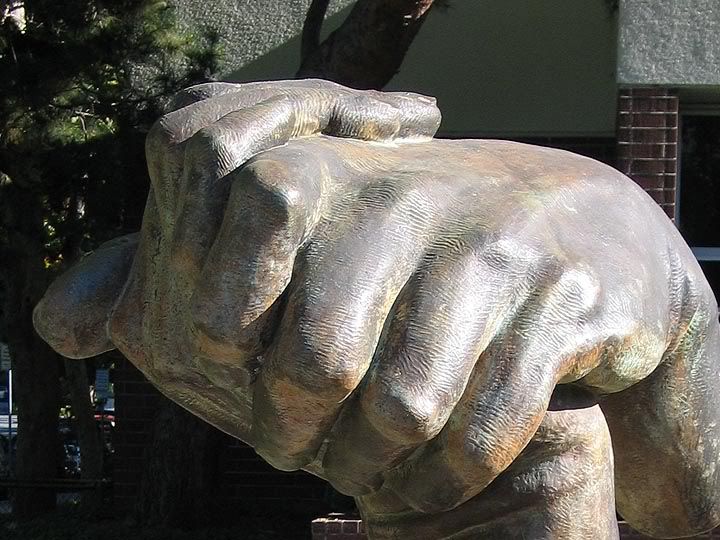
Here is a different crop of the same subject.


Labels:

Wednesday, July 21, 2004

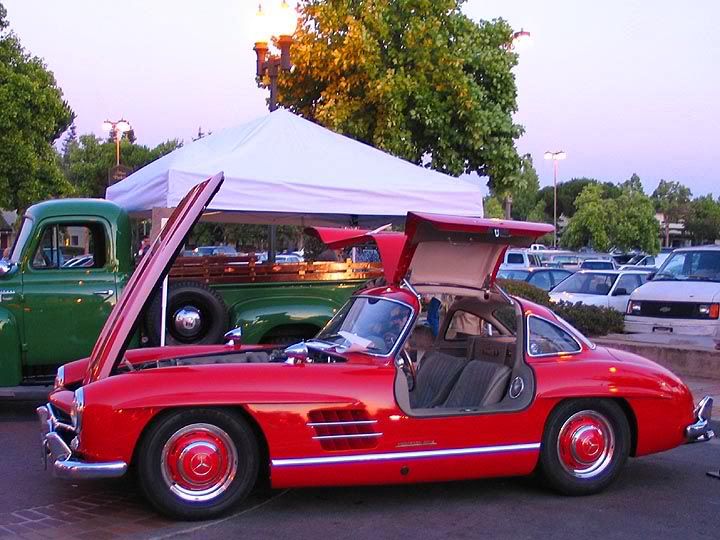
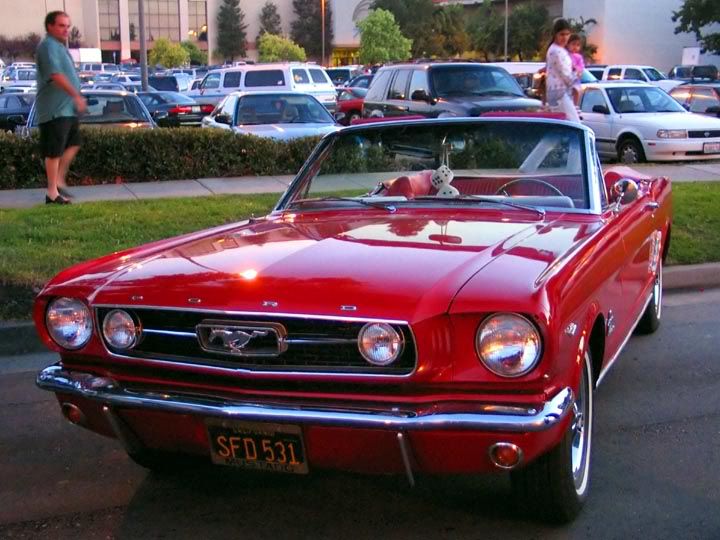
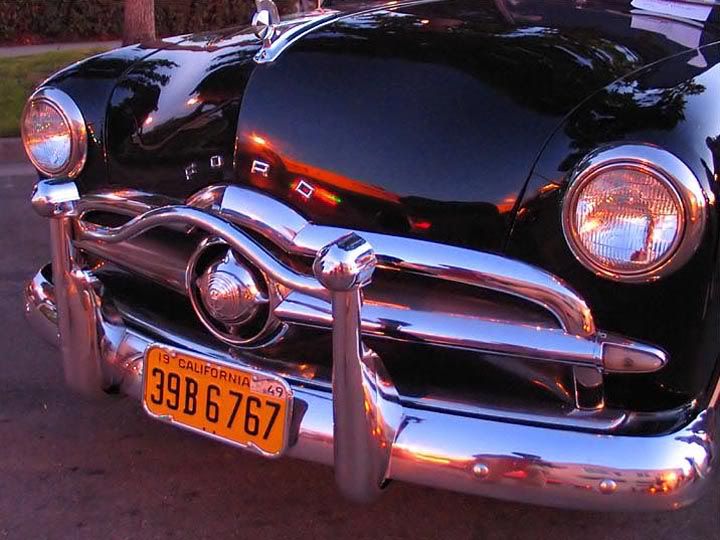
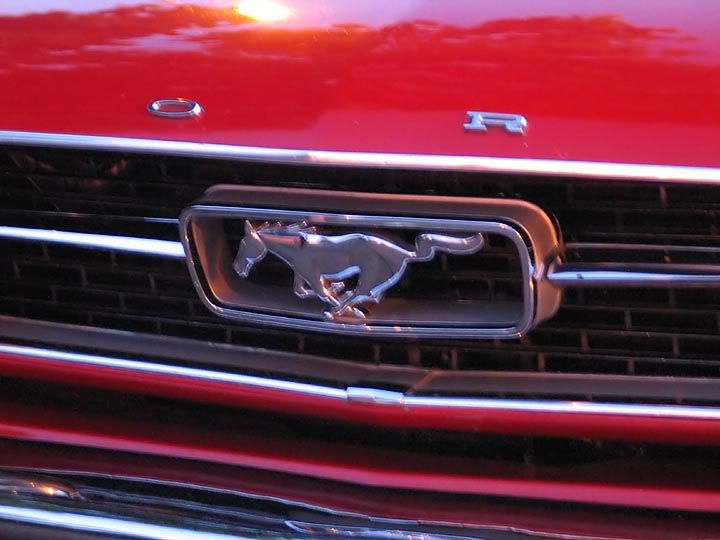
Car Show !

Today evening, I came across a local Car show just by chance. Lucky I had G5 with me. So I tried some photography in low light of the evening.


F2.0, 1/15 sec, ISO 50


The first one came out nice. I did not have a tripod with me. In aperture priority, I opened full aperture F2.0 for maximum light. I did not move ISO from 50. And just tried this shot 1/15 sec to see if I could handle it. Lucky, it came out nice.

I did not want to take chances again so settled the camera on a Fire Plug and shot this second one.


F2.8, 1/8 sec, ISO 50


The fire plug was a bit far, so I had to zoom in. But zoom reduces the limit on Maximum Aperture, so now I was limited at F2.8 instead of F2.0. To compensate for that I could have upped the ISO, but that invites the noise. Instead, with the stability of fire post, longer shutter time was not an issue, so I kept it in Aperture priority and shot is at 1/8 sec. Not bad ! :-)

For the rest of the pictures, I had no choice but to increase the ISO because people were all over and I could not waste time looking for a support or waiting for it to get clear. The Higher ISO brought in a lot of noise. I got rid of a lot of noise using free version of Neat Image. I have not dug deeper into its features but it works like a charm on the higher ISO noise. I still prefer to avoid the noise in the exposure.

Even at ISO 400 and F2.0, the shutter speed was slow at 1/30 or 1/40. This limited the number of pictures that came out unshaken :-( Even some of these you see below were shaken but don't look that blurred here due to loss of resolution.

Check "Lessons Learned" at the bottom.


F2.2, 1/40 sec, ISO 400


F2.0, 1/30 sec, ISO 400


F3.0, 1/30 sec, ISO 400


F2.0, 1/40 sec, ISO 400


F4.0 , 1/6 sec, ISO 200


Lessons Learned
  • Once again, I wish I had a tripod or monopod with me. It wouldn't hurt to keep an extra cheap tripod in the trunk of the car (I'm still amateur you see...)
  • In some of the shots I tried to stabilize the camera by pulling the camera away from me with the strap tightened around my neck. This did help in some cases but not always.
  • Couple of times I tried to stabilize the camera by pulling the camera away from me but towards the ground to get an angle closer to horizontal. This required the LCD to be flipped on the side and face upwards toward me. It was so inconvenient with the strap coming in the way, reminding me once again how much I dislike sideway flipout of G5. (See "What I like/don't like about Canon G5")

Labels:

Sunday, July 18, 2004

Depth of Field - the Third Dimension

If you have done only Point and shoot photography so far, then most probably you are not familiar with the term Depth of Field.  Why ? I guess for the same reason why you may not know much about Tax laws - you didn't have any control over it! :-)

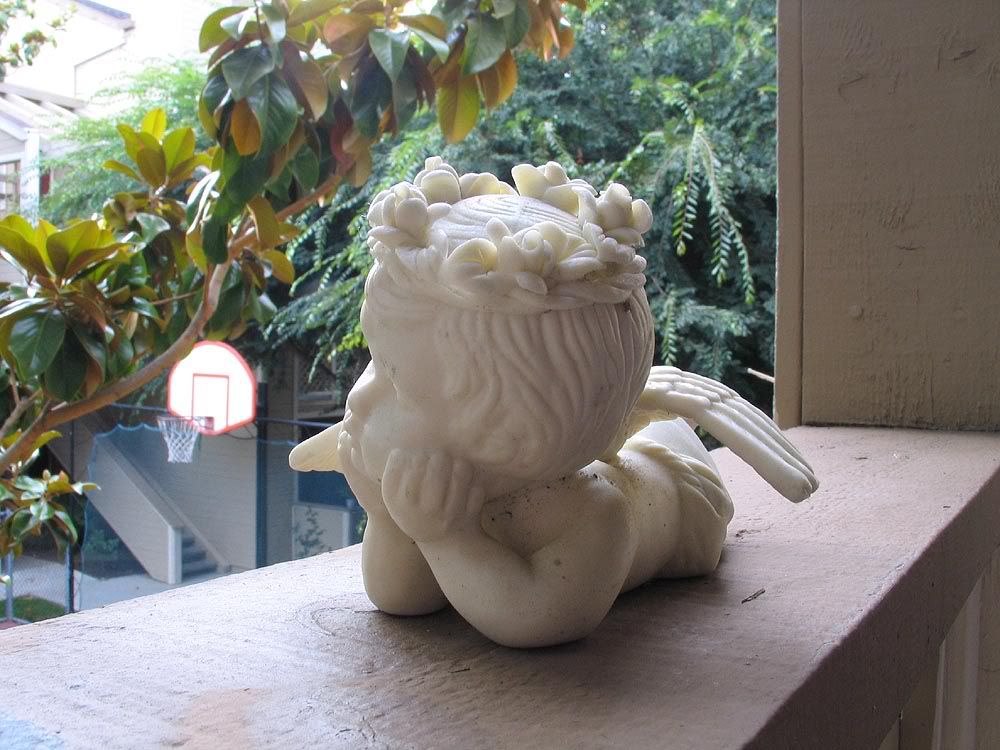
Take a look at the picture below.


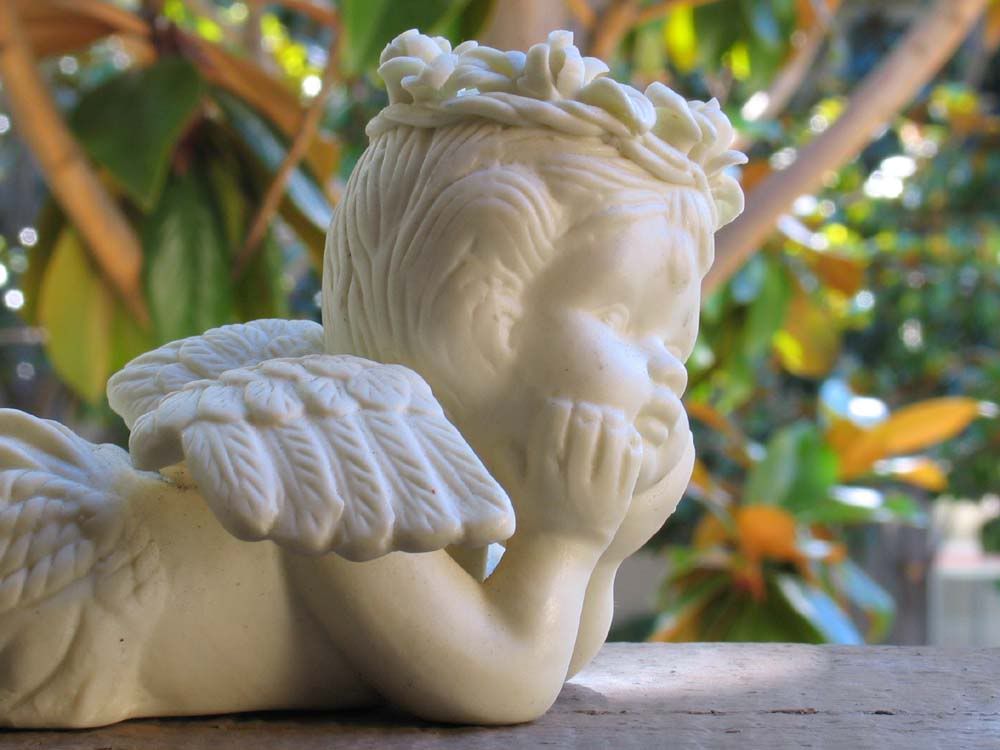
Everything from the face of the angel figure to the basket-ball net is captured with good to reasonable sharpness. This is because, everything in the frame is within a range of distance where camera can capture it with sharpness acceptable to human eye. The actual point of the focus of the camera is somewhere in-between this range. This range is called the "Depth of Field".
 
Depth of Field is a the range of distance from camera defined such that all the objects at a distance from camera within this range are captured with acceptable sharpness. Objects outside this zone appear blurred.
 
What is acceptable sharpness may depend on what is the desired magnification of the final media where the image will be reproduced. But there are no standard boundaries demarking the depth of field.
 
The reason why we see most of the things clearly captured in point and shoot camera is because their depth of field is very large - typically starting from 5ft and upto infinite distance. Moreover, this depth of field is fixed for point and shoot camera. 

A Prosumer camera is different. It gives you power of changing the Depth of Field, you can move it closer or farther and you can also change its thickness. First let's take a look at the effect of manipulating the Depth of Field. 


F8.0 , 1/13 sec

In the first picture, the angel is sharp, the background is out of focus yet objects are recognizable.  Now compare it with the picture below.
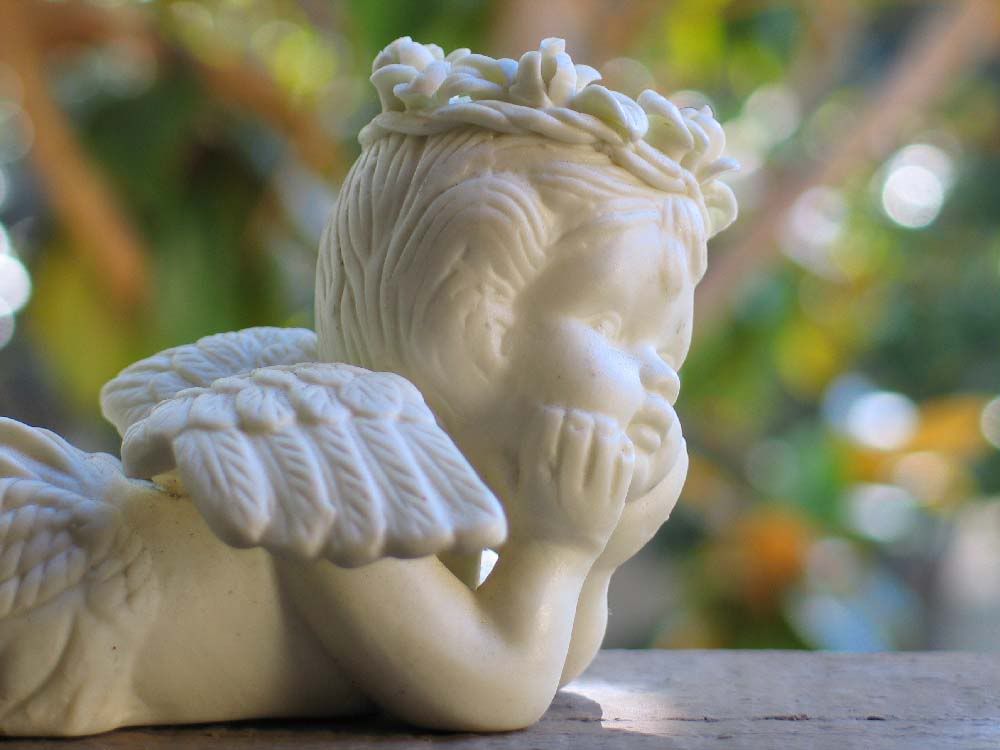

F2.8 , 1/100 sec (rollover the image to see the difference)

In the second picture, the angel looks almost same but the background is completely blurred! In fact it makes the angel stand out a lot more than the picture before. Everything else is pretty much same.
 
In both the pictures, the point of focus is anchored at the same place - the angel - the subject, where it should be. What is different is the depth of field (DOF).


With proper framing you are deciding what you want to capture in terms of width and height of the field in front of you. But with Depth of Field you are deciding the range of distance from the camera that you want to capture clearly. In that sense, it's the Third Dimension of your Frame. Anything that is acceptably sharp is "in-frame" and anything that is blurred is "out-of-frame" in the sense of Third Dimension of Frame.
 
You play with this third dimension with two parameters to get the desired result. Aperture and Focus 
  
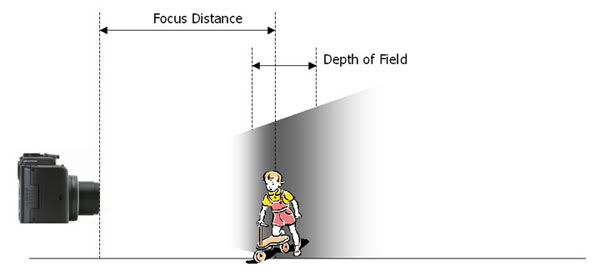
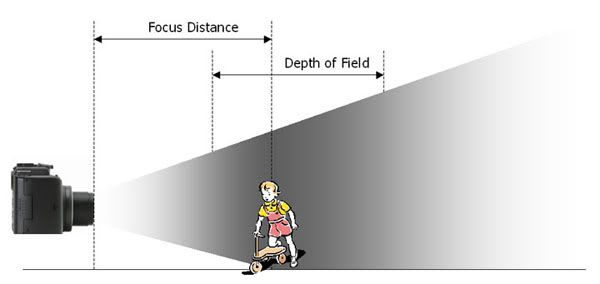
Focus: The focus distance or point of focus is sort of an Anchor Point for the Depth of Field. Everything at this distance appears with crisp sharpness. Your Subject should be at this distance. Other objects closer than this point or farther than this point will appear with varying degree of sharpness depending on your chosen DOF. What are the boundary points of the depth of field is a highly debated topic because there are no hard boundaries. It all depends on what is acceptable in the final media. 
 
Aperture: Once you have anchored the focus, you can manipulate the depth of field by changing the Aperture Value - the size of opening that lets in the light on your CCD. The Aperture is measured in F numbers. The main difference between the two pictures above is the Aperture. The first one is captured with an Aperture measured as F8.0 (smallest opening in G5) while the second is with F2.8 (largest opening allowed with full zoom in G5). It sounds a bit confusing that larger number represents smaller aperture, but more on that later. 
  • If you choose a large Aperture (small F number), depth of Field will be very narrow. This causes most of the objects in front of the focus point and behind the focus point to be blurred out. This is very suitable for Portrait Photography, as it makes the subject stand out very well. In the drawing below, a darkness of shade represents sharpness at that distance. Darker the shade, more sharp the object will be at that distance.

Narrow depth of field 

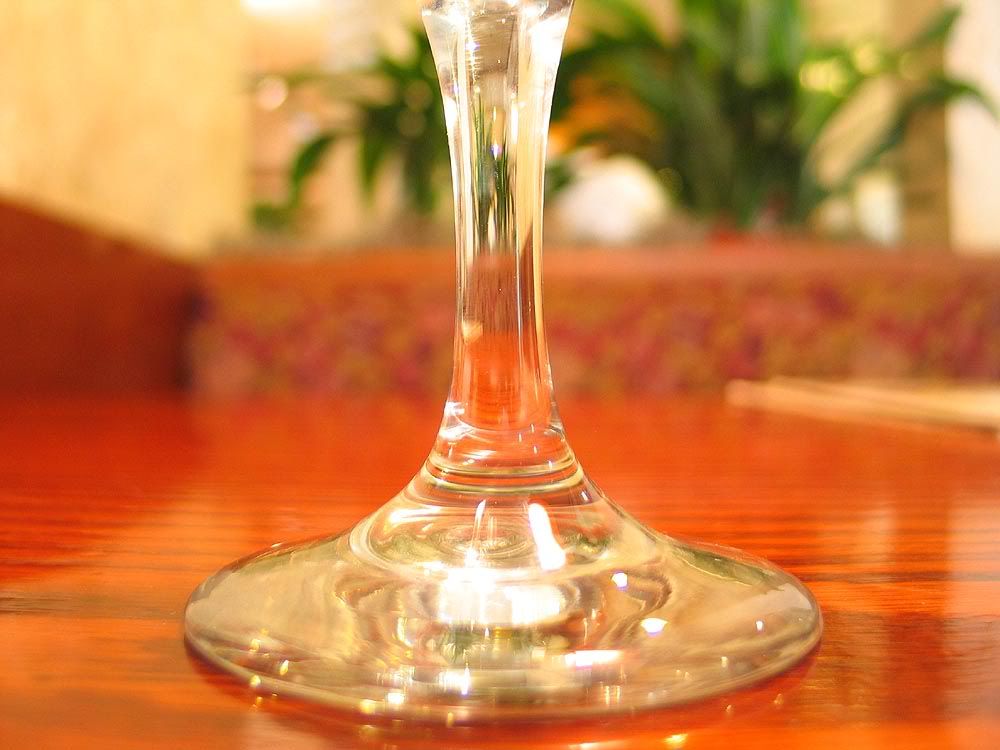
Another example of very narrow Depth of Field is the macro shots of a wine glass I posted earlier. You can see that even the front part of the base of the glass is blurred out as it is too close.

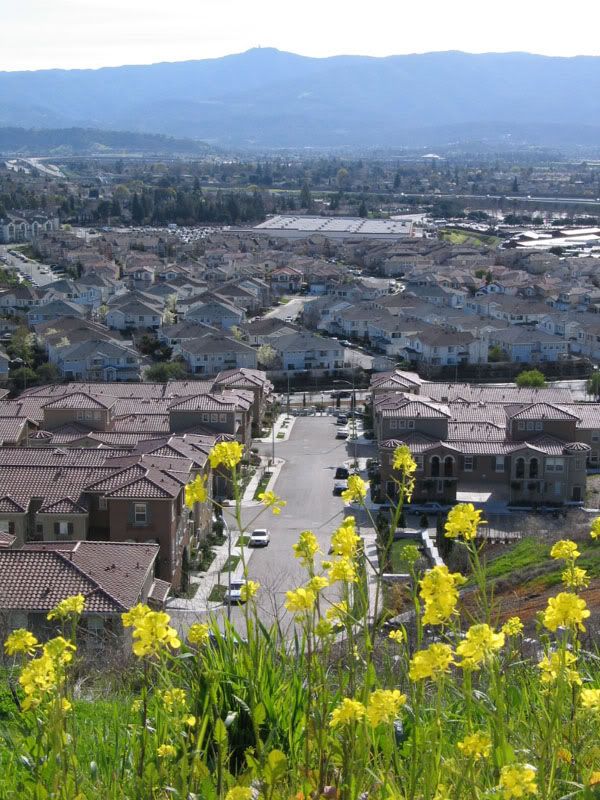
  • If you choose a small Aperture (large F number), depth of Field will be very wide. This is suitable for landscape photography on your site seeing vacation. Everything from the nearest tree to the farthest mountain will be sharp.

Wide depth of field

Below is another example of wide depth of field. As you can see everything from nearest flower to the farthest mountain is captured with acceptable sharpness.


F8.0, 1/200 sec

  • The easiest way to play with depth of field is to use your camera in Aperture Priority Mode. In this mode, as you modify the Aperture value, the camera will take care changing the shutter speed in such a way that your CCD gets right amount of exposure (Read Earlier Post : Cooking and Photography. Also, note the shutter speed in the examples in this post)

The side effects: So what else you have to do to make sure you don't mess up anything else in your picture?

  • If you are using large depth of field = low aperture = small opening = large F number, make sure that your picture gets enough light for proper exposure. If u are using Aperture Priority Mode, Camera take care of this. If you are using manual mode, you will have to decrease shutter speed or increase ISO sensitivity.
  • Similarly if you are using a narrow depth of field = large aperture = large opening = small F number, you have to worry about overexposure. In Manual Mode, increase Shutter Speed, or decrease ISO Sensitivity. Sometimes this may not be enough, e.g. If you are trying to take a picture of a white flower in bright sunlight with very narrow depth of Field. In that case, you will have to use an external Neutral Density Filter, to reduce the intensity of the light. I use G5's built-in ND filer feature.
  • If camera selected the shutter speed for you, you still need to take a note of it and decide if you will be able to hold the camera still for that long. Anything below 1/60 or 1/80 seconds should be shot with a tripod or other support.

So far, I have only played with the extremes of depth of field for portrait and landscape photography. However, in Macro photography, a proper selection of depth of field becomes more important as the distance differences between various objects are very small and with macro lenses and filters, the depth of field becomes very narrow.

Labels: ,

Saturday, July 17, 2004

A couple of Macro Shots

I took this macro shots recently at a restaurant. Canon G5 has a macro mode that allows you to focus on objects as close as 2.0 inch. When in macro mode, autofocus looks for the nearest object to focus.  Click on the image to see it in higher resolution.


I wish I had moved that menu out of the frame before taking the photo.

Labels: ,

Thursday, July 15, 2004

The Rule of Thirds

In Photography, there is this very famous rule that is preached a lot to the beginners. It's called "The Rule of Thirds".
 
Hmm... What it is this rule about?  Well, in California, The Rule of Thirds means

"Whatever Money you make every month, is divided into Three pieces
  • First piece is taken away by the Government
  • Second piece is taken away by your landlord or the mortgage company
  • And the remaining piece, is shared by you, your spouse and kids."

Just Kidding, :-)

Rule of third is actually about how to position your subject in the picture. Actually it's not even a rule, it's rather a guideline for making reasonably framed pictures.

As there is no "Official Text", here is my version.

"Whenever appropriate, place your subject at one third distance from the edges of your frame."

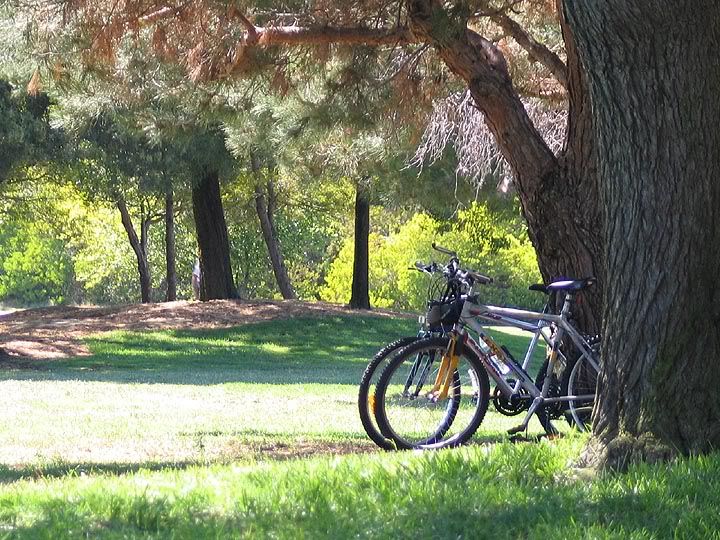
Take a look at the picture below.
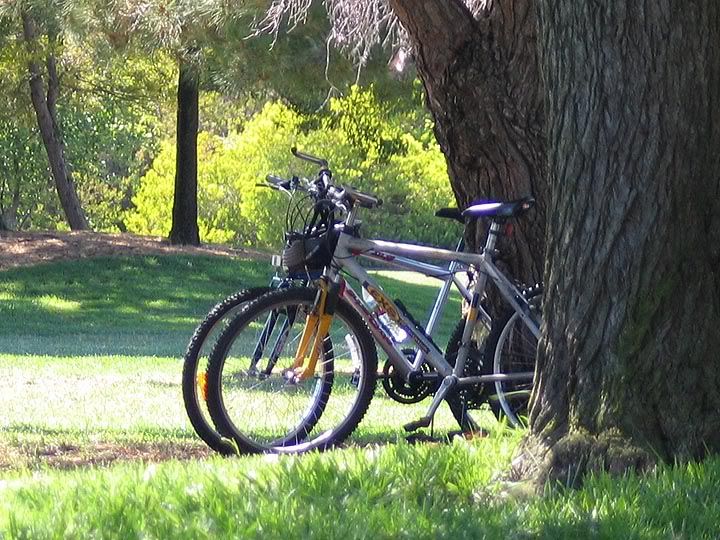


In this picture, the subject - the bikes - is placed in the middle of the frame, little bit off the center. The picture looks OK. Now compare this with the picture below.


The bikes are placed in one corner, centered approximately at one third height from bottom and one third width from right. The picture looks framed better then the first one.
 
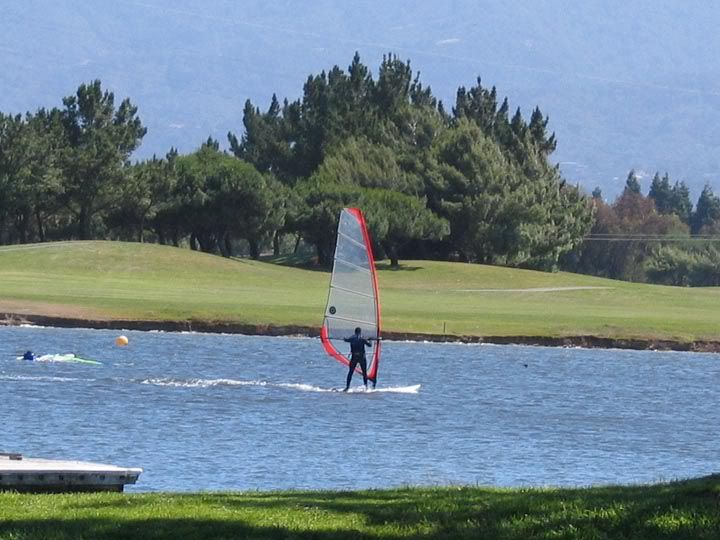
Here is another example.


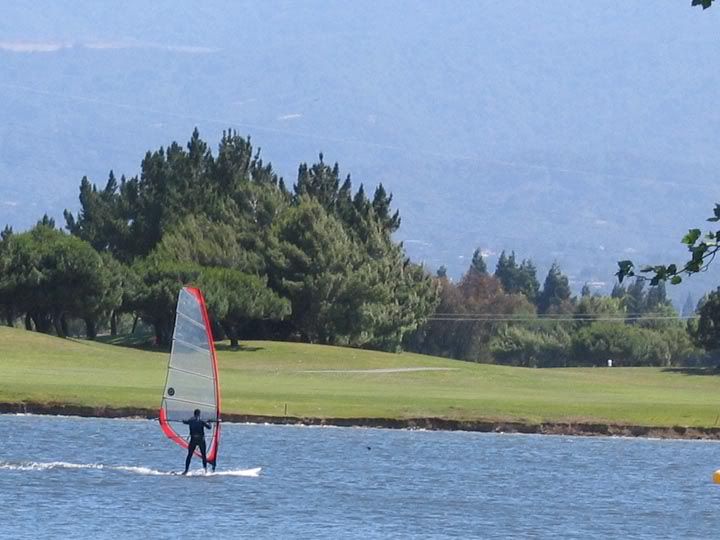
Below is the same scene, framed again with The Rule of Thirds in consideration.


Main contrast between the two pictures is the fact that, the first picture puts all the emphasis on the surfer by putting him in the middle, while the second picture puts almost equal emphasis on the surfer as well as his surrounding. It also puts emphasis on the direction of his movement and makes it look like the surfer has just entered the frame from the left side.

Another thing worth note here is that the frame is divided horizontally in almost equal parts by water, land and the background of mountains, making it very symmetric.

It does not make sense to try to use The Rule of Thirds for every picture. However, so far I have found that, in any frame where in addition to the subject, you also want to capture an essential property of the surrounding, the rule of third can be used very naturally to create a balance between the subject and the surrounding. For example, the example above shows the beauty of the lake side as well as includes the surfer in harmony with it.
 
Here are a few more examples. 


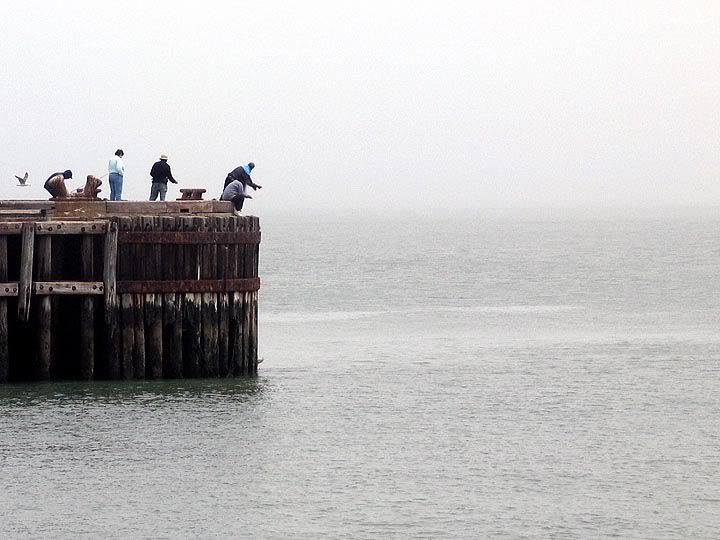
At the Pier, San Francisco, California


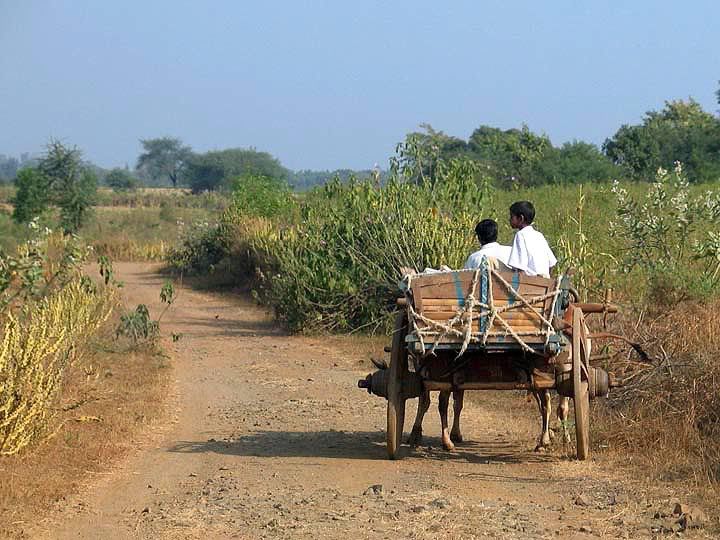
All Terrain Vehicle, Rural India


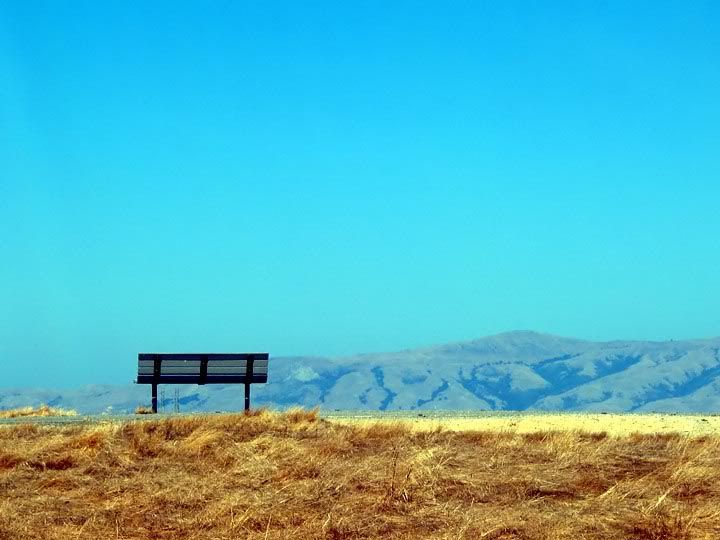
Waiting for the Spring, Mountain View, California

Labels: , , ,